The journal
Puck prep, in order: distribute, tamp, screen
A shot of espresso is decided in the thirty seconds before the pump starts. The grounds are ground, stirred, levelled, pressed and covered, and every one of those steps has a tool whose only job is to make the next step honest. This is the order, what each stage fixes, and where the numbers come from.
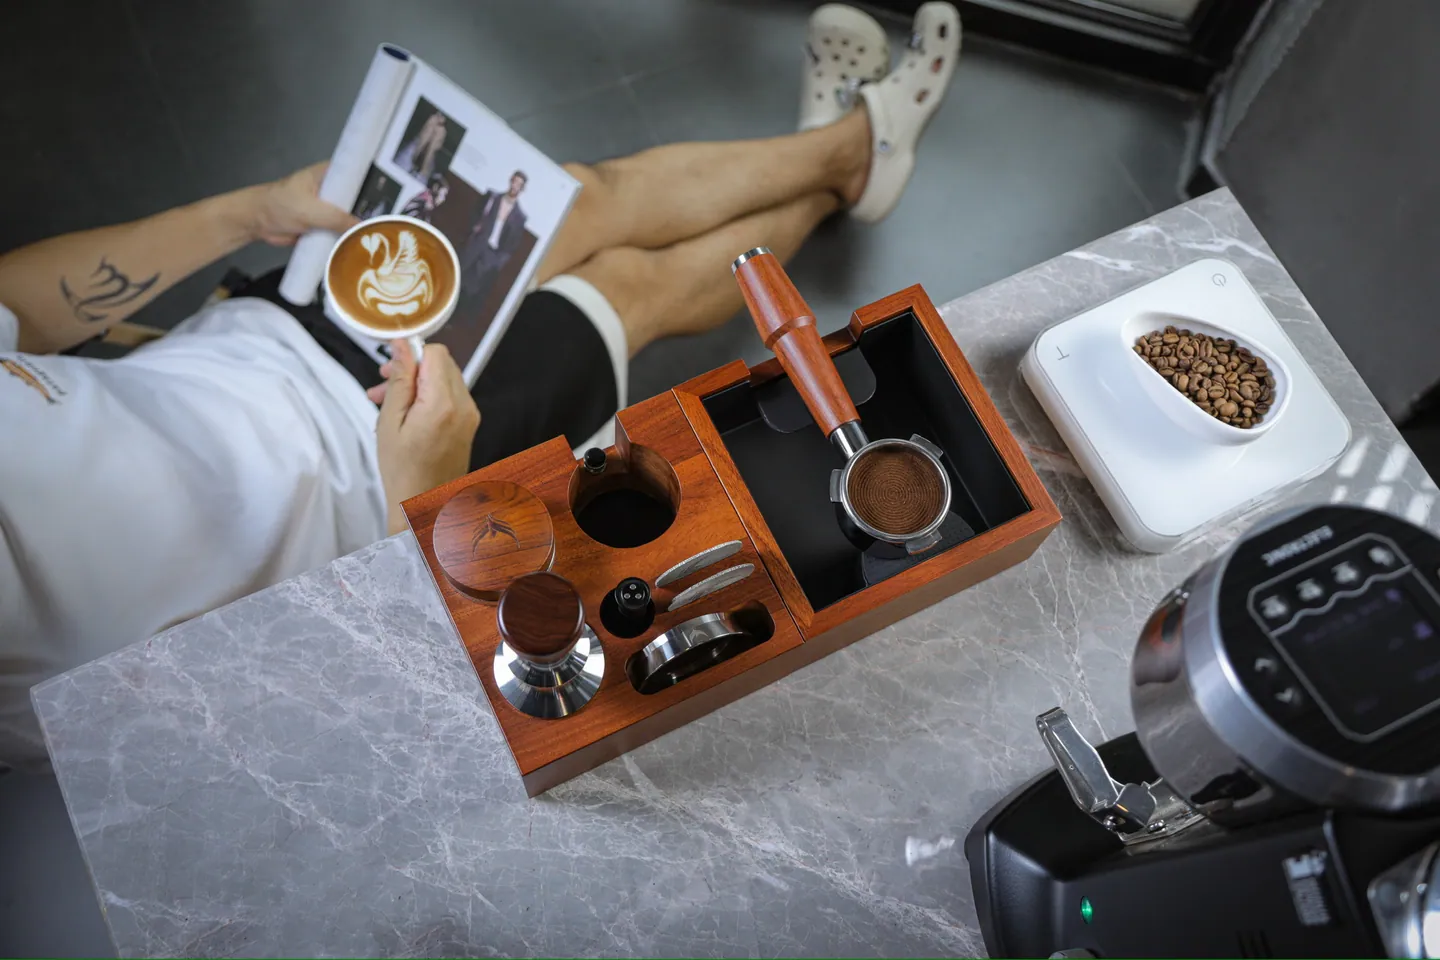
The problem is pressure
Espresso is the only kitchen brewing method that works by force.
Force is unforgiving: water under nine atmospheres does not percolate politely through a coffee bed, it looks for the easiest way out. If one region of the puck is looser, wetter or thinner than the rest, the water widens that path and abandons the rest of the bed. The loose region over-extracts into bitterness while the neglected coffee under-extracts into sourness, and the cup manages to be both at once.It uses high pressure to force nearly boiling water through finely ground coffee in about 20–30 seconds.
Baristas call the failure channelling, and the entire discipline of puck preparation exists to prevent it. The good news is that prevention is mechanical, not mystical: distribute evenly, press level, protect the surface. Each step has a tool, each tool has a department here, and the order never changes.
Step zero: grind, fresh and fine
Puck prep starts before the puck. Espresso needs a fine grind, table-salt fine, and the published rule of thumb explains why.
Espresso's contact time is 20 to 30 seconds, the shortest in coffee, so it needs the finest grind of any method. Fine grinding also raises the stakes for everything after: fine particles clump, and clumps are little pre-built channels.As a general rule, the longer the coffee is in contact with water during the brewing process, the coarser the grind should be.
Freshness is the other half of step zero.
The same guidance is specific about the fix:Coffee begins to lose freshness almost immediately after roasting.
That is the entire argument for single-dose storage: one shot per sealed tube means the working stock is opened for seconds, and the dose was weighed on a calm afternoon instead of a rushed morning.With proper coffee bean storage, you can wait and grind the amount you need immediately before brewing, giving you the freshest flavor.
What channelling looks like
It helps to know the enemy by sight. In the cup, a channelled shot tastes hollow and contradictory, sharp and bitter at once, because part of the bed gave too much and part gave too little. At the machine, the signs come earlier. A shot that starts blonde and watery within seconds ran through a channel. A bottomless portafilter, the diagnostic instrument of this whole discipline, shows it plainly from below: an even extraction gathers into one calm centre stream the colour of dark caramel, while a channelled one spits sideways, drips from multiple points, or shows pale patches racing across the basket's underside. That live picture is the reason naked portafilters appear in so many of our kits: they turn a guess about yesterday's prep into something you watch happen.
The grinder matters here more than any tool that follows it, and the published guidance is blunt about which kind.
A consistent particle size is the raw material of an even bed. No amount of stirring repairs a grind that is half powder and half gravel.These grinders do a better job of creating a consistent grind, extracting the flavor of the coffee more evenly, and they’re better for the types of coffee that require smaller grind sizes, like espresso or French press.
Dosing: the bed starts on the scale
A dose is the weight of dry coffee in the basket, and it is the first number of the recipe, the 1 in the 1:2. Our bottomless portafilters state their basket capacity as 18 to 21 grams, and the honest way to land inside that window is to weigh, not scoop: coffee density changes with roast and origin, so the same scoop holds different grams on different weeks. Weigh the empty portafilter once, remember it, and weigh the dose every morning, or move the weighing upstream entirely with single-dose tubes filled on a quiet afternoon.
Static is the small nuisance of dosing, fines clinging to the grinder chute and the funnel walls, and the range's RDT sets exist for it: a light mist of water on the beans before grinding, named for the Ross Droplet Technique, settles the static before it starts. The dosing funnels close the loop by making sure what leaves the grinder actually arrives in the basket instead of on the counter.
Step one: distribute
Grounds land in the basket as a heap with a peak, clumps and voids. Distribution turns the heap into a bed of even density, and the published brewing steps name it explicitly, ahead of the tamp:
Ensure the coffee grounds are evenly distributed in the portafilter basket (it’s okay to use your finger, but there are special tools that can help with this). Then, use a tamper to pack the grounds into a compact puck in the basket. This will help the water saturate the grounds more evenly.
The "special tools" of that parenthesis are a department of this range. A WDT tool, for Weiss Distribution Technique, is a set of fine needles stirred through the grounds to break clumps and even the bed from the bottom up. Ours carry needles of 0.25 and 0.4 millimetres, thin enough to stir without compacting. A distributor, the spinning wedge-faced puck of steel and wood, then planes the surface flat at a set depth. The two are not rivals: needles fix the interior, the distributor trues the top, and our distribution department carries both, separately and combined.
Step two: tamp, level and repeatable
The tamp compresses the levelled bed into the puck the water will actually meet. Two things matter and neither is strength. The press must be level, because a tilted surface is a thickness gradient and a thickness gradient is a channel map. And it must be the same every day, because espresso is tuned by feedback and feedback needs a constant.
This is what calibrated tampers are for. A spring inside the handle compresses at a set force and signals when it lands, so the press stops being a guess. Across this range the stated calibrations are 20, 25 and 30 pounds, with several tampers shipping all three springs interchangeably. Self-levelling models add a base that squares itself against the basket rim, taking the tilt question away entirely. Which number you choose matters less than keeping it: consistency, not magnitude, is the calibration's real product. A tamping station completes the step by giving the portafilter a stable, bored seat at pressing height, which is better for the press and much better for the wrists.
Step three: the screen on top
A puck screen is a thin perforated disc laid on the tamped bed before the portafilter locks in. It spreads the first rush of water across the whole surface instead of letting the group's jet drill one spot, and it keeps spent grounds off the shower screen above, which shortens the cleaning the machine needs later. It is the least glamorous tool on this bench and the one whose absence you can taste on the first sip of a gusher. Ours live with the funnels in dosing and puck screens, in the same 51, 54 and 58 mm sizes as everything else, and the size guide explains why that number is not negotiable.
Step four: brew by the scale, not the clock on the wall
Everything before this point was setup. The shot itself is measured. The espresso ratio the guidance publishes is one gram of dry coffee to two grams of brewed espresso, over that 20 to 30 second window, and holding a recipe like that by eye is not a human skill.
Using a digital scale will help you brew more consistent espresso—and keep track of what worked well (or not) for you so you can keep adjusting and experimenting.
A scale with a timer turns the whole workflow into numbers you can keep: dose in, yield out, seconds elapsed. When tomorrow's shot runs differently, the numbers say which variable moved, and the fix is published too:
Our scales are built for exactly this seat on the bench, sized to slide under a drip tray, reading in tenths of a gram.Your coffee tastes bitter or sour: it may be ground too fine (over-extracted), so try a larger, coarser grind.
At the machine: the last thirty seconds
The bench work is done and two small rituals remain, both from the published step-by-step.
A warm cup is the cheapest upgrade in espresso, and the machine makes the hot water anyway. Then the group gets a moment's attention: the guidance has you clear the group head by running the machine briefly, the short blast of water and steam you hear in every cafe, and lock the portafilter in right away so the puck meets the group at temperature rather than resting against hot metal. From there the shot belongs to the scale and the timer, and to whatever the bottomless portafilter chooses to tell you about your distribution.Warm your cup—it will keep the cup from cooling off your freshly brewed espresso.
Storage closes the loop for tomorrow.
That is a fact about the beans, and it is also the reason the knock box gets emptied daily rather than weekly: a box of wet grounds is a humidifier sitting next to everything else on the bench.The main consideration is that coffee absorbs and retains moisture—as well as odors and tastes—from the air around it.
Hence the single-dose tubes with lids, and the wooden stands that keep them in the dark of a cupboard rather than on a sunny shelf.Clear canisters let in light, which can compromise the taste of your coffee.
Troubleshooting, symptom first
| Symptom | Look at | The usual fix |
|---|---|---|
| Fast, pale, watery shot | Grind, then distribution | Grind finer. Stir with the WDT needles before tamping |
| Bitter and sour at once | Channelling through the bed | Distribute, tamp level, lay the puck screen on top |
| Sprays from a bottomless portafilter | Distribution and tamp tilt | Needles deeper into the corners, self-levelling tamper |
| Shot drips and stalls | Grind too fine, dose too high | Grind coarser or weigh the dose back into the basket's range |
| Great Monday, poor Tuesday | Inconsistent prep, stale beans | Same calibrated press daily, single-dose the beans |
Symptom logic from the published guidance's grind rules and this range's tool set. One change at a time, and the scale tells you if it worked.
The order, on one table
| Step | Tool | What it prevents |
|---|---|---|
| Grind fresh and fine | Burr grinder, single-dose tubes | Stale flavour, clumped fines |
| Distribute | WDT needles, then a distributor | Voids and clumps inside the bed |
| Tamp | Calibrated, self-levelling tamper on a station | Tilted beds, day-to-day drift |
| Screen | Puck screen on the tamped bed | Jet erosion, dirty shower screen |
| Brew and measure | Scale with timer, 1:2 in 20 to 30 s | Guessing which variable moved |
The ratio and contact time are the National Coffee Association's published quick numbers; the full citation with read date is on our sources page.
Building the bench
Nothing on this list is exotic, and that is the point: five small disciplines, each held steady by a tool that only does one thing. If you are starting from a bare machine, the kits assemble the whole sequence in one order and one wood, from 2-piece starters to seven-piece benches. If you are filling gaps, every department above sells its step separately, in the same three woods the wood guide describes. Either way the workflow is the same, and it fits inside the half minute the machine takes to warm its group: distribute, tamp, screen, and let the scale tell you the truth about the rest.
Published 11 August 2026. Every source quoted here was read in full before it was quoted, and citations with read dates are on our sources page.